
Facebook Notification Mark All as Read

Are you tired of getting to read all notification on facebook? Or maybe they disturb you at times and you just want to get notified about new notification only so that you do not start counting tallies. Well if that is your case, then the Facebook notification mark all as read feature is the feature you have been looking for all these while.
Facebook Notification Mark All as Read
You see, the facebook platform has a feature known as Facebook notification mark all as read. This feature helps you to mark all the notification you feel you are too tired or buy to read a s read when you did not read them. This way, any new notification that comes in will not have to add its tally to the ones you have before. For instance, if you have twelve notifications before, instead of showing you thirteen new notifications, you will see one new notification.

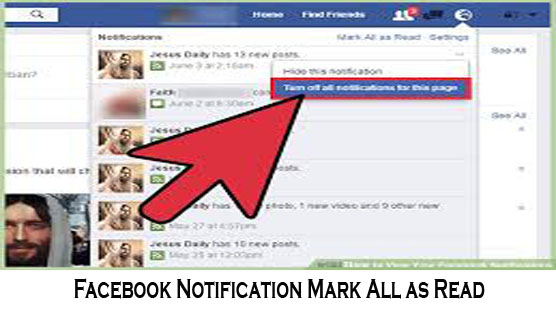
How to Access and Use the Facebook Notification Mark All as Read

Knowing about this feature is not just enough; at least you must learn how to use it. Using the facebook notification mark all as read feature is a very simple procedure but before we discus that, let us make sure you have everything in place. First of all, for you to ever think of accessing and using this feature, then you must have an active facebook account. Secondly, you need to have access to this account and then notifications you do not wish to read. Once those things are in place, then you can proceed with the steps below to learn how to us the Facebook notification mark all as read feature.
  • Visit the official Facebook website at www.facebook.com for pc and m.facebook.com on your mobile device. Alternatively, you can launch any facebook app you have that displays your newsfeed, but you must bear in mind that not all apps might have this feature.
  • Log in to your facebook account by providing your login credentials and navigate to the notification section of your facebook account.
  • To navigate to the notification section of your facebook account, simply find and click on the link or button that says notification depending on the process you are using.
  • Now find and click on the mark all as read on top if your notifications.
That is it; it is as simple as that. You can repeat this procedure as frequently as you have notification as this feature is unlimited.

Comments

Popular posts from this blog

WAEC 2017/2018 Result Is Out : www.waecdirect.org Result Checker

How to check WAEC 2017 Result online ?   * Candidates should logon to WAEC result 2017/2018 website through www.waecdirect.org * Enter WAEC Examination Number. * Enter the Examination Year. * Select the Type of Examination. * Enter the Card Serial Number found on the reverse side of your Scratch card. * Enter the Personal Identification Number (PIN) on your Scratch card. * Click on the  submit button to get their result. * Candidates must take the hard copy of their result for further use.

How to Upgrade your JAMB Result to 250 and Above??

Jambites who want to upgrade their UTME results to 250 and above should endeavour to read through this article to get help before it’s too late. JAMB UTME 2014 has been been written. Results has been released and statistics shows that a good percentage of candidates scored 200 and below. Now candidates are looking for next move to take. Most of them didnt reach the cut-off mark for their desired University and or Polytecnic. The next thing on candidates in this situation is "How to Upgrade My JAMB UTME Result" Report reaching us has it that Desperate candidates who could not reach their desired mark are making moves to pay any amount to have their Results Upgraded. This post was made to enlighten candidates who Wish to upgrade their UTME score that there is nothing like Result Upgrade and anything you see about it online is Fake and was posted by scammers who wish to Collect your money and leave you Helpless. JAMB registrar Made this notice after Last year, 2013 ...

HOW TO GET 5GB or MORE FOR FREE ON MTN NETWORK

How To Get Free 5GB On Your MTN Sim!!! This Works Like Magic... You Wont Believe This... Just Follow The Steps Below. Note: It Doesnt Work On All SIMS... You Might Get an Error that You Have Insufficient Balance... NOTE:-YOU CAN NOT SEND THAT 5GB TO YOUR SELF FIND ANODA AND USE IT TO SEND TO YOUR SELF... Step 1: You Need To Register For MTN DATA Sharing by Dialing *131*2*1# Then You Will Need To Change Your Data Sharing Pin from Default (0000) to your prefered pin By Dialing *131*2*5# Step 2: After Changing Pin, You can Add Beneficiary. This is the number that you will send the 5GB to.. Dial *131*2*2# to Add the Beneficiary and then Put ur Pin after adding. Step 3. You will need to send the 5GB to the Beneficiary. Just Dial *131*3# Press Answer and Dial '5'. Answer again and Dial '4'. Answer again and dial '3'. Answer again and put Beneficiary's Number. Answer again and Put your Pin. Step 4. If your Sim Can Do It, Then The Beneficiary wil...